Friday, April 3, 2015
White Balance settings on your camera
These photos illustrate how much difference the correct white balance can make. Both these photos were taken at the same time....but I had the white balance wrong on the top photo. It's important outside too because your camera will zero in on the lightest spot then try to capture all the detail around it.
Thursday, October 23, 2014
Thursday, July 3, 2014
Ice Tunnel - Final
12 x 36 oil on stretched cotton canvas - SOLD
Update 10/28/14: This painting and a 'very abstract' abstract (which I failed to photograph before I put it in the show), were such oddball sizes I put a bottom dollar price on them and they sold quickly.
I was surprised because they'll both have to be hung in a special spot, but hey, they're not taking up valuable real estate in my house anymore! I discovered an inexpensive way to frame them with stained furring strips and that often makes all the difference between selling and not selling.
I painted the sides because this lends itself to being hung without a frame, and because this size frame might be hard to find. I think a painting should be as enjoyable to look at up close as it is from a distance, so I really concentrated on brush strokes for this one. Next one too....well heck, they all should be that way.
I also discovered sable for this painting. I didn't use it much, but what an amazing brush for detail work! It was a used Grumbacher small sable round and it verified sable's elevated reputation, even though I'm sure it's not the best quality out there.
Monday, June 9, 2014
Ice Tunnel - Stage 2
12x36 oil on canvas
Who needs a critic when a digital camera will be direct and to the point in 30 seconds? I've already run at this thing with a rag while it's still wet to soften areas needing attention and get back to the subtle tones in the block in. One more painting session and I'll have this thing finished. I got to play with my Williamsburg French Ultramarine and Prussian blue, and learned a bit more about the versatility of Pthalo Blue.
Thursday, May 15, 2014
Cloud Cover
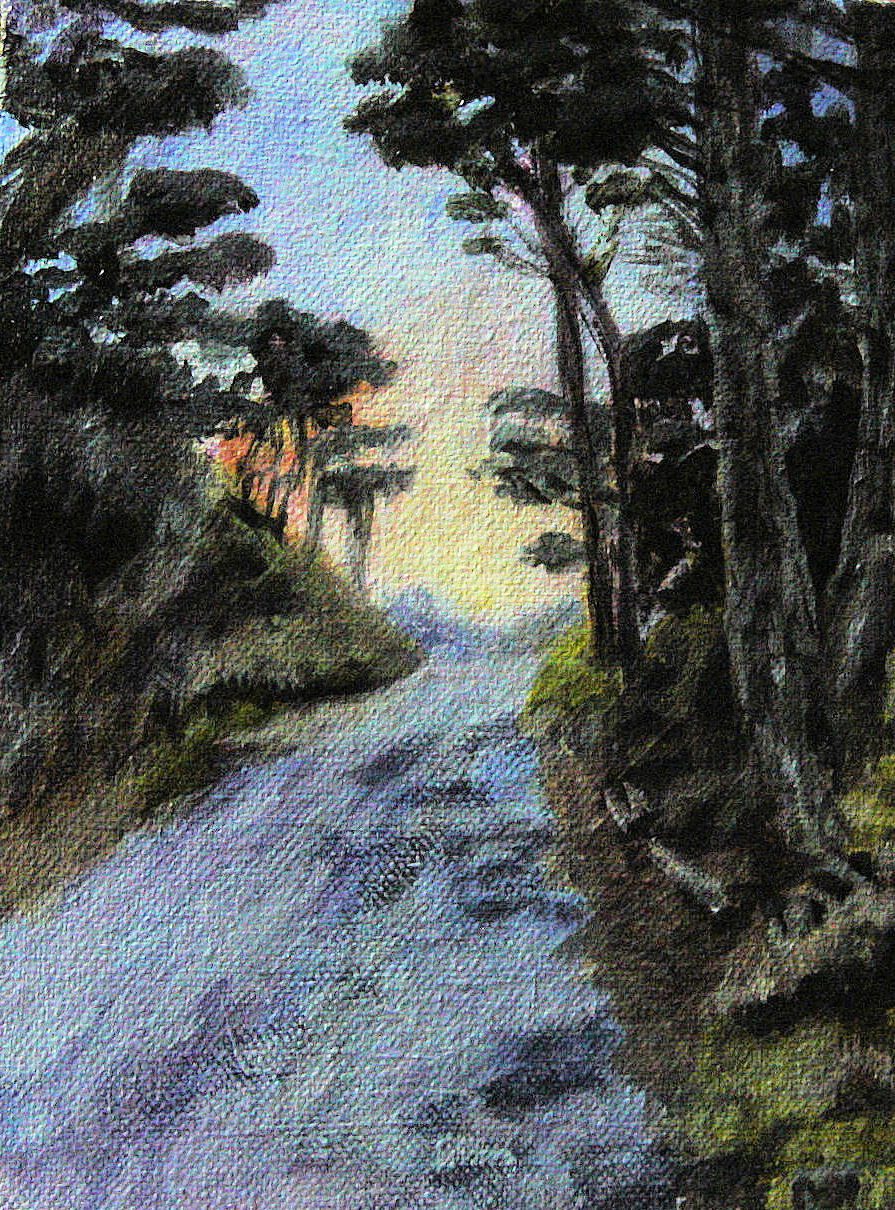
This is the FINAL painting. Trees R HARD! Doing landscape right is HARD! You have to keep track of depth, form, where the light is falling, perspective, value and color - for each layer of recession. That's a bit easier to do in still life and when painting animals. And I can tell more painting on location is needed. I got this photo at dusk, but the sky was very bright and of course totally washed out in the photo. I'll keep plugging away until I get the hang of it because I'm hooked. I love visiting other blogs and seeing how much they've progressed over time. It gives me hope.
Wednesday, April 30, 2014
Abstract in oil in progress
18 x 36 Oil on stretched cotton canvas
I'm increasingly seeing the beauty of abstracted landscapes, and I had two ridiculously long, oddball canvases, (of course they were a clearance buy! Why else would anyone want them?) so I decided to get them covered and out of here, and used the odd size to do abstracts. I don't much like most abstract work because it's just like everything else - there's really good and not so good - and a lot in between. But it can't be beat for exploring color, and I learn something wonderful from everything I try.
I'm learning to appreciate the tinting strength of thalo green. It's an intense phony looking color on it's own, but makes some wonderful darks mixed with alizarin, (deep forest green) transparent oxide red (the green of pond and lake water), and dioxazine purple (deep shadows).
In Progress - Clouds over Neahkanie
12 x 24 Oil on stretched cotton canvas
I've currently got 3 paintings going and none are where I want them to be. This one has some glaring issues with the trees and foreground, and I'm at war with myself about the way I handle applying paint to the surface. I'll post the final version when I get it there, but I enjoy it when others post their paintings in stages, so I thought I'd do the same.
Wednesday, March 5, 2014
Henry at One
12 x 16 oil on panel
This fellow was one of a litter of 4 born at my house in September 2006. I was fostering rescued breeder Cairns at the time and his momma was sent to me very very pregnant. He subsequently picked his new dad and went to live close by, so I could continue to see him. That's the best that fostering gets! He has changed colors as Cairns are wont to do, so I'm planning two more portraits of him to record his new look.
I do not know why my other photos have disappeared, so while I investigate, cross your fingers that Google hasn't thrown them in the round file of cyberspace.
Sunday, December 22, 2013
Saturday, November 16, 2013
Abstracts?? No way! Well......way.
Wednesday, September 18, 2013
North Sixth and 101
I caught this scene in the fog a year or so ago. There's a new house on the left where the plant life formerly lived. The family who lived in this duplex style house built the new house and has moved in. It was fun to watch, but I'm glad I had a photo of the 'before'.
Thursday, March 28, 2013
Thursday, February 28, 2013
Cheap and effective brush cleaner
Not one to spend money on an item I may have around the house, I decided to try a spring in a jar for a brush cleaner (based on that coil cleaner thingy sold by Blick). It works great! Any hardware store carries springs and you'll want one with thick coils about 1/8" apart. Measure the inside diameter of your jar, so you can pick one that doesn't move around much so you don't stir up the bottom sludge any more than necessary. Fit that into a jar with a nice wide mouth, and you have an easy to clean and effective brush cleaner. I top it off to about 1/2 inch above the spring once a week.
When the sludge builds up in the bottom, pour off the clean OMS on the top, into another wide mouth jar, use a pair of needle nose pliers to squeeze the middle of the spring (if it's snug) and slip it out onto a paper towel. A quick wipe of the spring, use the piece of paper towel to scrub out the sludge at the bottom, pop the spring back in, pour your OMS back in and you're good until the next cleaning is needed.
Saturday, January 12, 2013
Parrot and Apple
This is my personal birdie, Sambuca. She's quite photogenic, and although I'm sure these birds are as common as our pigeons, in the Congo, I think she's exceptional. And beautiful, so of course it's been my intention to paint her. I adopted her when she was 6, and she's been with me for 8 years, so she's a teenager going on two. Bird people will know what I mean.
Wednesday, January 2, 2013
What I learned...
11 x 14 oil on canvas panel
I was fortunate to receive a very constructive critique, and I had no trouble seeing everything that was pointed out. Perspective? What a novel idea! More than one center of interest? Why sure! Too similar spaces between objects? But, but - that's the way it looked in real life! I could also see I had typical sky values reversed (lighter at the horizon is how nature generally does it), and several pointless blobs.
Why would I post this you ask? Because if there's just one person out there who is going through the same learning process and a light bulb goes off, then showing the warty ones (which I haven't been shy about doing before either) has a purpose. Also, I hope to look back a year from now and shake my head in wonderment at how far I've come.
Most people would just start over, but at this beginning and experimental stage of landscape painting, I wanted to see what changes would do with the existing painting underneath, so I grabbed my paints and started painting over this and that, and adding what I thought would improve the composition. Of course I made a mess of it. Some areas got positively muddy, some disappeared, some that were there for 'who-knows-what-reason' held their place or got painted away, but the composition was improved! A tidge, even though there are still two centers of interest - or maybe 3. Onto the trash heap this goes and on to the next one. And I'll do my thumbnails before I start painting next time.
I purchased 36 horrid sloppy rough canvas panels, and decided to use them for a learning project. (Don't buy the Everlast Wood Panels on Closeout at Jerry's Artarama, but do check out that store, because it's a good one).
Friday, December 14, 2012
Is this a 'C' design? Or an 'H'?
Monday, August 13, 2012
Alder Stand
8 x 10" Oil on canvas panel
Plein Aire #1 - sort of... I did my first painting outdoors about a month ago when I hauled my French easel out the back door and painted my gate. This one is with the pochade box I made. The lot next door to me is heavily populated with alders, and the light coming through in late afternoon was what I was after. I stayed close to home again because there's no shortage of gorgeousness right outside my door, and I wanted to be able to dash back into the house if I needed something. All went quite well until I tried to pick up the tripod and carry it back to the house and the panel fell forward into the paint. See the blobs on the bottom? I smeared them around, but I was done - and wanted this first genuine plein aire painting to reflect what really happened in 2 hours, and give me info on what needs to change.
A way to hold the panel in place would be helpful, but that gets way outside the cheap and easy department, so I'll simply wipe the sides of my finished panel with my rag (Tip #1: painting outdoors is far messier. Wear an apron and have extra rags), and place it somewhere safe. Like a box in the back seat of the car. I will NOT be making a panel carrier, because more than one painting per outing is so outside the realm of possibility....well you know.
Know something else? People who do this well, and in all sorts of weather deserve our admiration. Lots of it.
Saturday, August 4, 2012
Homemade Pochade Box
I wanted to put this together with items I already had around the house because I didn't know if I really wanted to spend a lot of time painting outdoors. There are a lot of homemade pochade box videos and instructions around the web, but I wanted something super easy and inexpensive, that anyone could put together. I already had a $20 photo tripod, so I'd been looking for an appropriate box. I spotted the unfinished wood cradled painting panels at Michael's. They're surprisingly sturdy, so I bought two 9 x 12 x 7/8" with a 50% off coupon in hand. $4.00 each. I'd purchased the clip-on solvent cups earlier (again at Michael's with a 40 or 50% off coupon) and it fits inside just perfectly.
Then I researched how to attach the box to the tripod, and found a nifty little item called a tee-nut at the hardware store for .45 cents. You'll need the 1/4-20 x 5/16 size, and a 1/4" drill bit for the hole in the bottom to hold the tee nut. I also picked up two pretty little hinges for the back that would allow the box to open completely flat. Center them directly over the opening, so the box will lay completely flat should you decide to use it on a shelf.
I had the stain and the polyurethane for the exterior, but craft paint would work fine too. Finding a hinge that would support the lid and attach to the outside without creating bulk and getting in the way, was almost impossible. So I used a bit of chain to keep the lid at the right angle, cut a metal coat hanger for the brace, and used some screw eyes for hanging framed pictures, and started tinkering. For a place to rest the painting panel, I used two tiny L screws, but the screw eyes I used to hold the chain would work fine too. Here's the result. I cut a piece of sturdy cardboard to fit in the bottom, and wrapped a disposable palette paper around it and taped it on the back. I put my paints on before I leave the house. It slips right under the screw eyes.
The coat hanger lays flat diagonally across the palette area, or if I've got paints on the palette, I'll slip it under the ribbon with velcro I'll use to keep this puppy closed. Funky? Sure, but the total cost was $10.99. I've used it once indoors for a trial run and it feels plenty sturdy enough to take outdoors.
Postscript 4/27/144: This was fun to make and I like the way mine balances, but I spied a dandy little $20 item on eBay that might make a good little box with the addition of a well placed T nut on the bottom.
Type in 'Art Alternatives Marquis Desk Easel with drawer', or go to Amazon and type in the same: $25.00!
I've used up to a 12 x 16 panel on my little box with no problems, and with a suggestion by the wonderful Julie Ford Oliver, hold it in place with mounting putty. If you haven't already discovered her blog, click on the link above. She's a wonderful artist and generous teacher.
Then I researched how to attach the box to the tripod, and found a nifty little item called a tee-nut at the hardware store for .45 cents. You'll need the 1/4-20 x 5/16 size, and a 1/4" drill bit for the hole in the bottom to hold the tee nut. I also picked up two pretty little hinges for the back that would allow the box to open completely flat. Center them directly over the opening, so the box will lay completely flat should you decide to use it on a shelf.
I had the stain and the polyurethane for the exterior, but craft paint would work fine too. Finding a hinge that would support the lid and attach to the outside without creating bulk and getting in the way, was almost impossible. So I used a bit of chain to keep the lid at the right angle, cut a metal coat hanger for the brace, and used some screw eyes for hanging framed pictures, and started tinkering. For a place to rest the painting panel, I used two tiny L screws, but the screw eyes I used to hold the chain would work fine too. Here's the result. I cut a piece of sturdy cardboard to fit in the bottom, and wrapped a disposable palette paper around it and taped it on the back. I put my paints on before I leave the house. It slips right under the screw eyes.
The coat hanger lays flat diagonally across the palette area, or if I've got paints on the palette, I'll slip it under the ribbon with velcro I'll use to keep this puppy closed. Funky? Sure, but the total cost was $10.99. I've used it once indoors for a trial run and it feels plenty sturdy enough to take outdoors.
Postscript 4/27/144: This was fun to make and I like the way mine balances, but I spied a dandy little $20 item on eBay that might make a good little box with the addition of a well placed T nut on the bottom.
Type in 'Art Alternatives Marquis Desk Easel with drawer', or go to Amazon and type in the same: $25.00!
I've used up to a 12 x 16 panel on my little box with no problems, and with a suggestion by the wonderful Julie Ford Oliver, hold it in place with mounting putty. If you haven't already discovered her blog, click on the link above. She's a wonderful artist and generous teacher.
Thursday, July 19, 2012
Seventh Street at Dusk
11 x 14 acrylic on canvas panel
I've also been painting outdoors and making a simple inexpensive little pochade box. I'll post photos and directions if it's everything I hope it to be.
Tuesday, June 19, 2012
Connor
10 x 10 oil on Baltic Birch panel
Another contribution to the fundraiser for Col. Potter's Cairn Rescue Network. I volunteer to edit posts and trade off photo editing with another volunteer living in New York state. If you love dogs, most rescues are looking for volunteers for computer work, foster homes, transport, etc.
Totally worthwhile, you'll work with wonderful people and help the dog who isn't lucky enough to have found a committed loving forever home,
or was born in a puppy mill and handed off to rescue, or seized by the ASPCA and found it's way to rescue.
This is Connor in Pennsylvania, one of the lucky ones! Such a handsome boy and pure joy to paint!
Saturday, April 21, 2012
Friday, April 6, 2012
Into the Light
8 x 10" oil on stretched canvas
SOLD
Tuesday, March 27, 2012
Saving oil paint
I borrowed the idea of a 'holding' palette for unused paint at the end of a painting session. I started by putting my glass palette in a box, then a plastic bag stored in the freezer. Worked okay, but I found I really enjoyed starting with a clean palette. So I started storing leftover paint on a white salad size plate, put it in a sealed plastic plate holder in the freezer. But the plate is hard to clean, so I went the ultra easy/lazy route, and save any usable paints on a piece of disposable palette paper, plop that into the bottom of a standard Ziploc sandwich container, pop the lid on, and throw it in the freezer. No clean up when the paint is used up, colors not being used can go right back into the freezer so the faster drying organics don't dry out, and it doesn't take up as much room in the freezer.
Postscript 4/3/14: Nothing stays the same here, so I ended up using a rectangular plain white tile (3x6") to store leftover paint. I made a little box with a fold over lid out of plain old cardboard, put that in a ziploc bag and it holds well for up to a couple of weeks. The organics will dry out no matter what, so I only save the mixes I might need again and the colors I know won't dry out.
Thursday, March 8, 2012
Pandora
10 x 10 Oil on archival canvas panel
I finally managed to get a painting done in the same week the DPW Challenge was posted! Who doesn't love to paint a horsey! And as usual, I learned something new. In this case, check the finished painting next to the challenge/reference photo. (This is an easy thing to do with a computer, but you have to remember to do it!) I had no idea I wasn't using the right value for the horse until I saw it posted with the others. Very valuable exercise these challenges! Thank you to David and Carol Marine for providing such a valuable and helpful website.
Subscribe to:
Posts (Atom)